
Table of Contents
Why Thin Brick Is the Perfect Backsplash Material
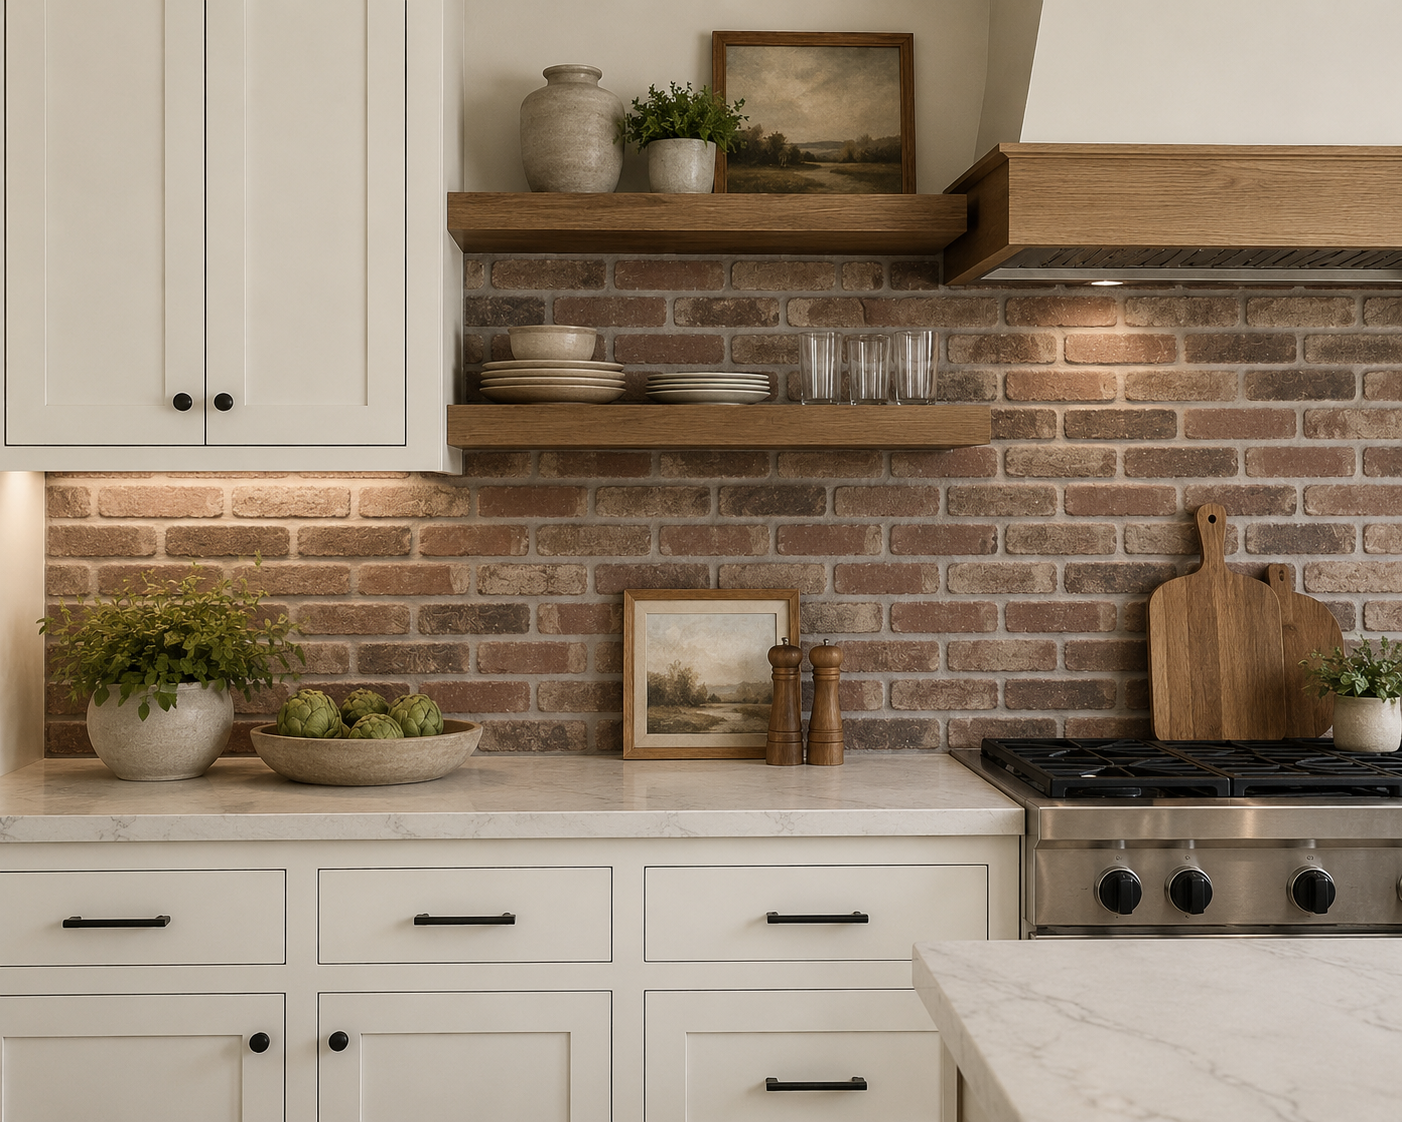
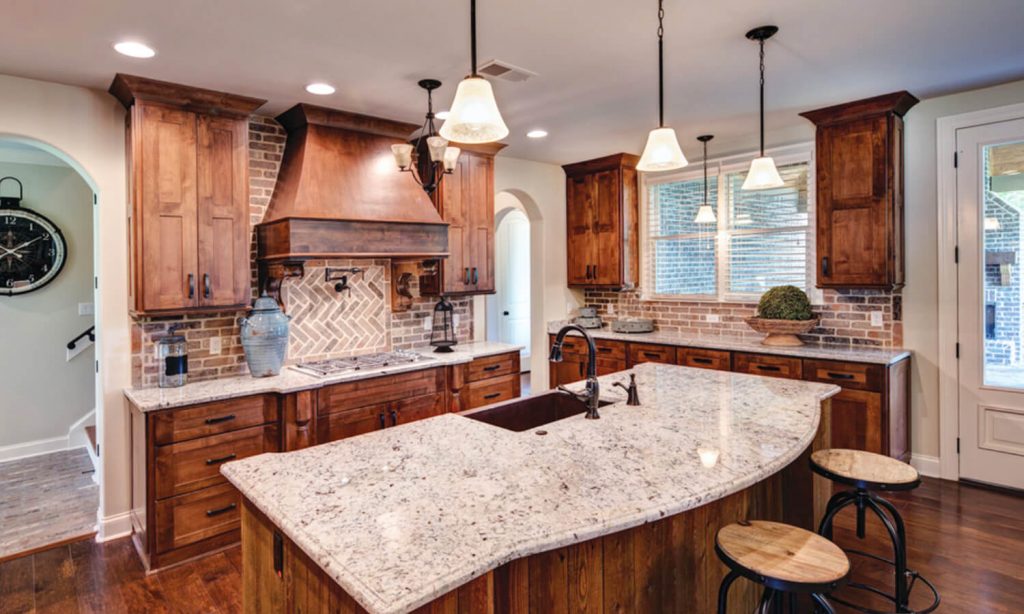
If you're looking to add texture, warmth, and lasting character to your kitchen or bathroom, thin brick is one of the most versatile and approachable materials for the job. It's having a major moment right now, and for good reason. Herringbone and running bond patterns are showing up everywhere from farmhouse kitchens to modern lofts, and the range of finishes available means the same material can feel rustic, industrial, or clean and contemporary depending on how you use it. North Georgia Brick carries a full line of thin brick options that are lightweight, affordable, and built for projects exactly like this one. Unlike full brick, which requires structural support, thin brick is designed to adhere directly to existing surfaces. That makes it ideal for backsplash work, and it means you don't need a foundational brick ledge or major demo to get started.
What Is a Thin Brick Backsplash?
The backsplash is the wall surface behind your sink and faucet in a bathroom, or the stretch of wall between your countertops and upper cabinets in a kitchen. It's a detail that often gets overlooked, but it's one of the most visible surfaces in the space. Builders, homeowners, and designers are increasingly treating it as a canvas for texture, color, and visual interest rather than just a functional surface. Thin brick brings something most backsplash materials can't: the durability and visual depth of real brick without the weight or complexity of a full masonry installation. It will last for decades and can be installed directly over existing drywall.
Step-by-Step Thin Brick Backsplash Installation Guide
Before you dive in, watch this helpful step-by-step video from the Brick Industry Association. It walks through the full installation process from start to finish and is a great companion to the steps below.
Tools and Materials for Your Thin Brick Backsplash
Before starting, gather your tools and materials. Always wear safety glasses, gloves, and a dust mask where applicable.
Materials
- Thin Brick
- Thin Set Mortar
- Construction Adhesive
- Masonry Paint (if whitewashing)
- Grout
Tools
- Power Drill with Spiral Mixing Arms
- Tile Cutting Saw (Diamond Blade)
- Trowel (Optional)
- Brick Jointer
- Grout Bag
- Asphalt Brush
- Paint Brush
- Chalk Reel (Optional)
- Spacers (Optional)
- Masking Tape
- Dropcloth
- Bucket
How to Install a Thin Brick Backsplash
Take your time through each step and don't rush the drying phases.
"Patience here makes a real difference in how the finished wall looks."
- Remove all outlet wall plates.
- Prep your workspace with tape and a dropcloth.
- Apply construction adhesive to the back of each thin brick.
- Begin placing bricks on the wall, starting from a fixed point.
- Choose your thin brick pattern based on your desired design outcome.
- Continue the pattern across the full wall.
- Mix mortar with water according to package directions.
- Use a mortar bag to fill in the joints between bricks.
- Run a concave jointing tool along the joints to smooth the mortar.
- Clean excess mortar with a damp sponge.
- Allow mortar to dry for 24 to 48 hours before use.
How to Whitewash a Thin Brick Backsplash
For a weathered, layered look, a whitewash finish is a popular way to customize thin brick. Here's how to do it:
- Dilute masonry paint following the package instructions.
- Wet the brick surface before painting.
- Work in 2x2 sections, applying paint and wiping the excess as you go.
- Allow to dry fully for 24 hours.
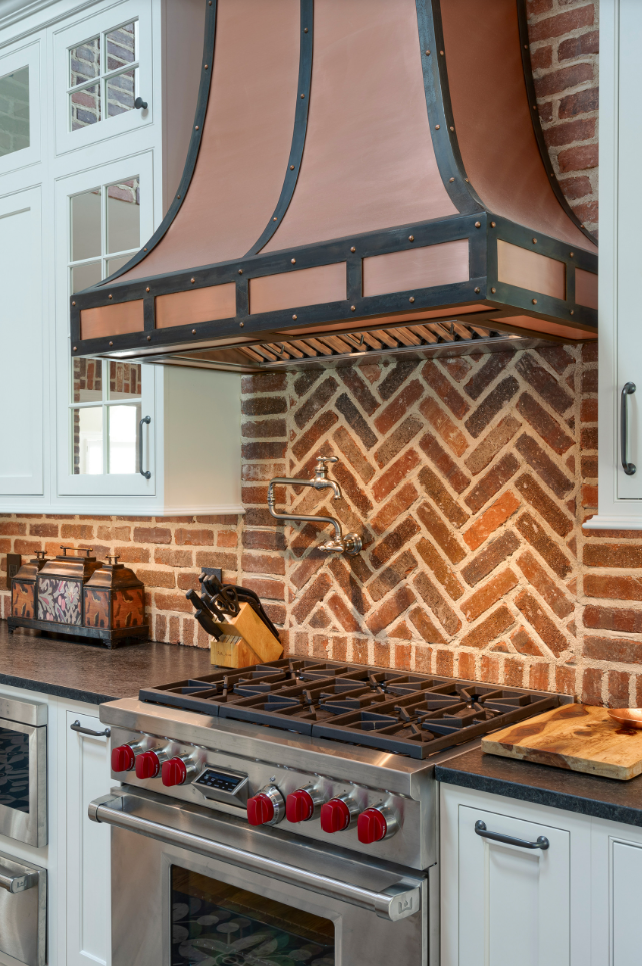
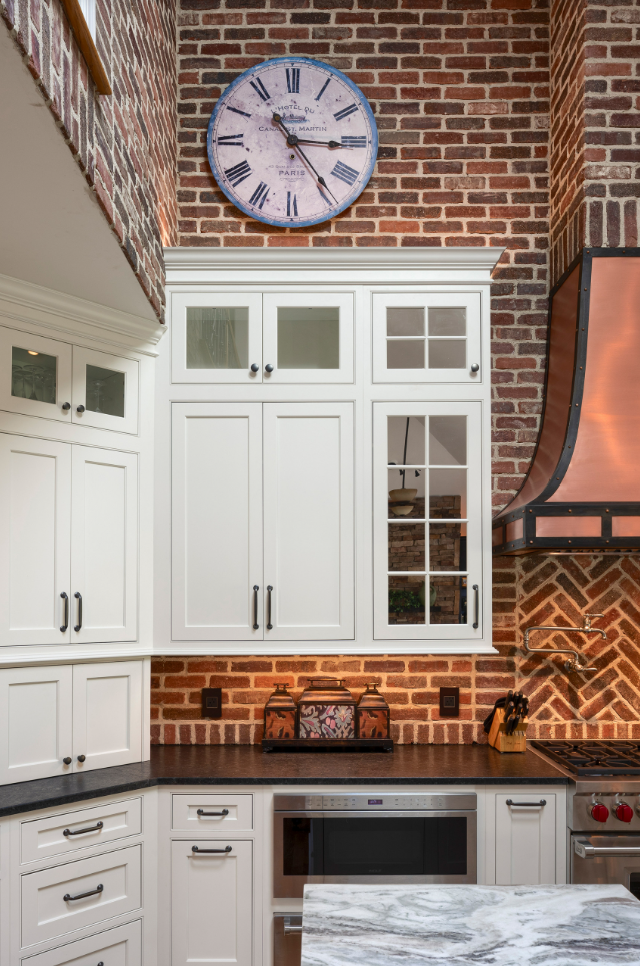
Rustic kitchen design featuring 50/50 blend of Peppermill and Englishpub thin brick with Ivory Buff mortar.
Discover More Thin Brick Inspiration from North Georgia Brick
Thin brick has a way of transforming a room, and the backsplash is just the beginning! Browse the North Georgia Brick Pinterest page for more project ideas and design inspiration, and tag us when your thin brick backsplash is complete. Visit a North Georgia Brick location in Cumming, Cartersville, Doraville, Lovejoy, or Newnan to find the perfect thin brick color and finish for your home.
Frequently Asked Questions (FAQ)
Do I need to remove my existing drywall before installing thin brick?
No. Thin brick can be applied directly over existing drywall, which makes it far more manageable as a DIY project.
What's the difference between thin-set mortar and construction adhesive in a thin brick installation?
Construction adhesive is applied to the back of each brick to secure it to the wall. Thin-set mortar is mixed separately and used to fill the joints between bricks after placement. Both are part of the process.
How long does thin brick mortar take to dry?
Plan for 24 to 48 hours of drying time before the space is back in use. Rushing that step can affect how the joints hold.
Can I cut thin brick to fit around outlets and corners?
Yes. A tile cutting saw with a diamond blade handles this well. Measure carefully, cut slowly, and wear a dust mask since brick produces fine particulate when cut.
How do I whitewash thin brick?
Dilute your masonry paint, wet the brick first, and work in small 2x2 sections, wiping the excess as you go. Full drying takes 24 hours.
Does whitewash look the same on all thin brick colors?
It shows up most noticeably on darker or more saturated bricks, where the contrast creates that layered, aged effect. On lighter bricks, the result is more subtle.